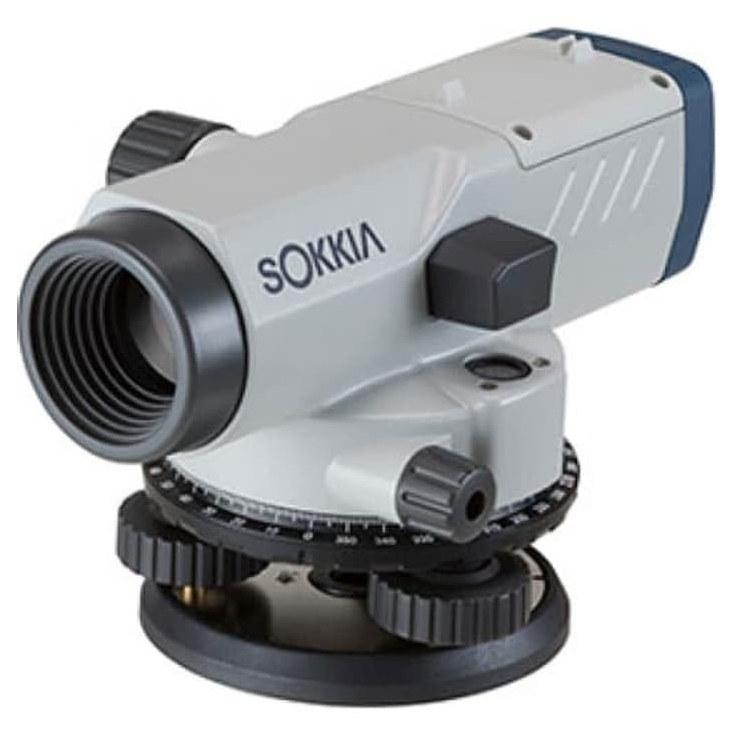
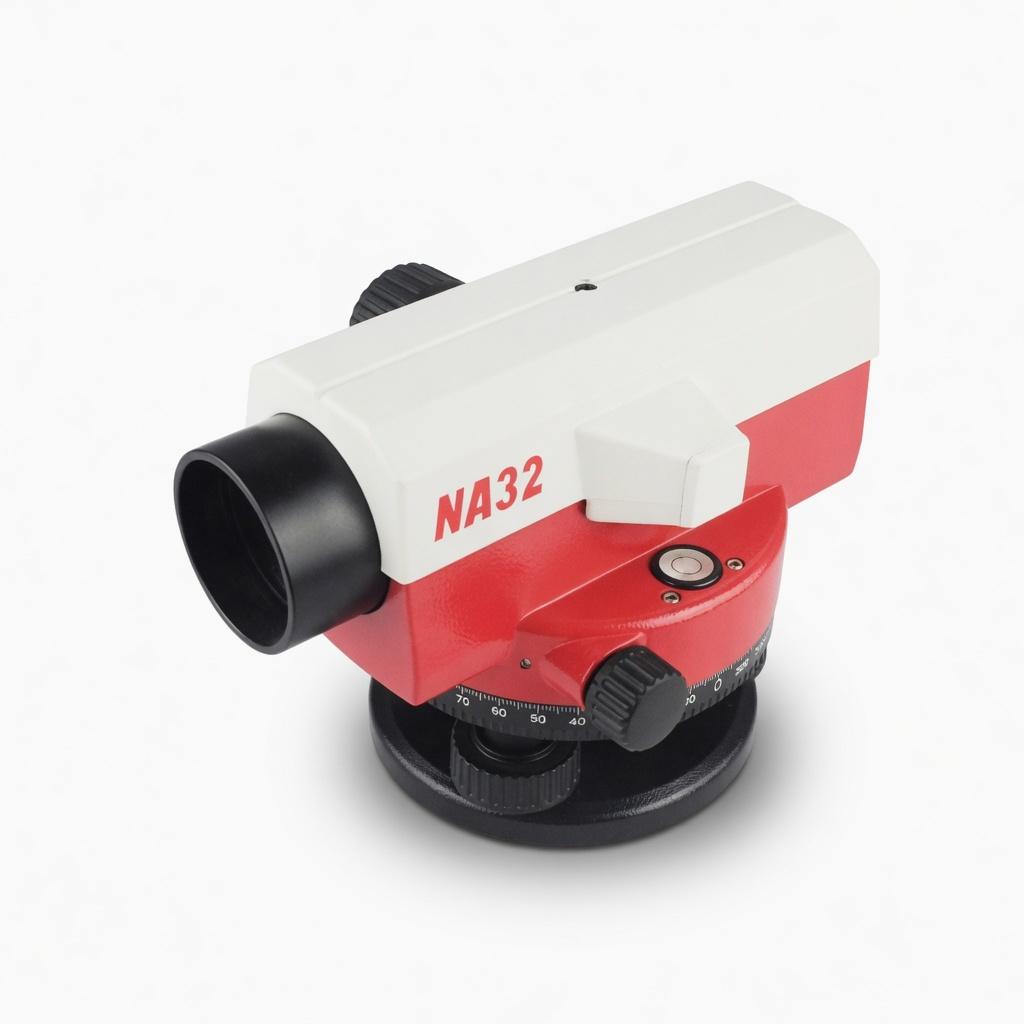
How to use an auto level in five steps: set the tripod firm, centre the circular bubble with the three footscrews, focus the eyepiece then the staff, read the centre crosshair to the nearest 1 mm, and book every reading. Done well, a 32x level reads a staff to 1 mm at up to 100 metres.
The auto level is the first instrument most site engineers in Pakistan learn, usually from the person who learnt it the same way. Habits get passed on with it, good and bad. This guide sets out the method we teach when a crew collects a level from our Rawalpindi store, including the booking and the field check that most training leaves out.
How does an auto level work?
An auto level, or automatic level, is a telescope that gives a horizontal line of sight. You read where that line hits a graduated staff held on a point, and the difference between two readings is the difference in height between two points.
The word automatic refers to the compensator: a small prism hanging on fine wires inside the telescope. Once you centre the circular bubble roughly, the compensator swings to make the line of sight exactly horizontal. On a dumpy level you had to level the tube precisely before every reading; on an auto level, the compensator does the last bit for you in about 2 seconds. See dumpy level vs auto level for the full comparison.
You need three things with it: a firm tripod, a levelling staff, usually 5 metres telescopic aluminium, and a staff bubble to hold the staff plumb.
How to set up an auto level
- Set the tripod. Spread the legs about a metre apart, head roughly level and at chin height. Push each shoe into the ground with your foot. On a hot tiled roof or slab, use a tripod stand or rubber shoes so it cannot slide.
- Mount the level. Screw it on hand tight with the tripod screw. Keep one hand on the instrument until it is secured.
- Centre the bubble. Turn two footscrews together, in opposite directions, to move the bubble towards the third. Then turn the third alone to bring it into the circle. Thumbs move in, thumbs move out; the bubble follows your left thumb.
- Focus the eyepiece. Point at the sky or a white sheet and turn the eyepiece until the crosshairs are sharp and black. Do this once for your eye.
- Focus on the staff. Aim with the sight on top, then use the focusing knob until the graduations are sharp.
- Check for parallax. Move your eye slightly up and down. If the crosshair appears to slide over the staff, refocus. Parallax is a common cause of 2 to 3 mm errors.
- Check the compensator. Tap a tripod leg gently. The crosshair should swing and settle on the same reading.
How to read a levelling staff
Most staffs in Pakistan use the E pattern: black or red blocks 10 mm high forming an E every 50 mm, with a number every 100 mm. The number tells you the metre and decimetre, for example 1.4 means 1.400 metres.
To read:
- Note the last full number below the centre crosshair, say 1.5.
- Count the 10 mm blocks above it: two full blocks makes 1.520.
- Estimate the millimetres within the block the crosshair touches: halfway is 5, so 1.525.
Always read the centre crosshair. The upper and lower stadia hairs are for a check and a distance. Their average should equal the centre reading within 1 to 2 mm, and the difference between them multiplied by 100 is the distance to the staff. With top 1.620 and bottom 1.430, the average is 1.525 and the distance is 19.0 metres.
In summer afternoons in Punjab and Sindh, ground shimmer moves the reading more than any instrument error. Keep the line of sight at least half a metre above the ground, shorten sights to 30 or 40 metres after midday, and do your critical levels before 11 am. We see crews blame a perfectly good compensator for what is really heat haze.
Rise and fall vs height of collimation
There are two ways to book and reduce levels. Both give the same answers; they differ in the checks they offer.
Readings: BS is a backsight, the first reading after setting up, on a point of known level. IS is an intermediate sight. FS is a foresight, the last reading before moving the instrument. A change point (CP) gets a foresight from one setup and a backsight from the next.
Example run from a benchmark at 100.000 m, two setups:
| Point | BS (m) | IS (m) | FS (m) | Rise (m) | Fall (m) | Height of collimation (m) | Reduced level (m) |
|---|---|---|---|---|---|---|---|
| BM | 1.525 | 101.525 | 100.000 | ||||
| A | 1.840 | 0.315 | 99.685 | ||||
| B | 2.105 | 0.265 | 99.420 | ||||
| CP1 | 0.985 | 2.310 | 0.205 | 100.200 | 99.215 | ||
| C | 0.640 | 0.345 | 99.560 |
Rise and fall method
Compare each reading with the one before. A smaller reading means the point is higher, a rise; a larger reading means a fall. Add the rise or subtract the fall from the previous level.
The check: sum of BS minus sum of FS equals sum of rises minus sum of falls equals last RL minus first RL. Here, 2.510 minus 2.950 is minus 0.440; 0.345 minus 0.785 is minus 0.440; 99.560 minus 100.000 is minus 0.440. It checks every intermediate sight as well, which is why consultants prefer it.
Height of collimation method
Add the backsight to the known level to get the height of the line of sight, then subtract every other reading from it. It is faster when there are many intermediate sights, for example a road cross section or a plot grid, but its arithmetic check does not cover intermediate sights.
Use height of collimation for setting out and spot levels on a building site. Use rise and fall for transferring a benchmark, road profiles and anything a consultant will check.
Auto level calibration: the two peg test
Even a new level can have a line of sight that tilts slightly up or down. The two peg test measures it in about 15 minutes. ISO 17123-2 sets out full field procedures for levels; this is the site version.
- Drive two pegs, A and B, about 60 metres apart on fairly level ground.
- Set the level exactly halfway, measured by pacing or tape. Read the staff on A and B. Because the sights are equal, any tilt cancels, so the difference is the true height difference. Example: A 1.525, B 1.210, true difference 0.315.
- Move the level to about 3 metres from A. Read A again, say 1.432. The correct reading on B should be 1.432 minus 0.315, which is 1.117.
- Read B. If it reads 1.124, the line of sight is off by 7 mm over 60 metres.
A common site tolerance is about 3 mm over 60 metres. Our 7 mm example fails and needs the reticle adjusted, a small screw under the eyepiece cover. If you are not trained to adjust it, bring it in; bench collimation usually takes one to three working days.
The best protection on the job is balanced sights. Keep each backsight and foresight within about 5 metres of each other and most collimation error cancels anyway.
What we supply
We stock levels and the accessories that make them work:
- NA32 automatic level and Orion Plus automatic level, 32x workhorses
- Sokkia B series automatic level, as an authorised Sokkia supplier; prices in Sokkia auto level price in Pakistan
- Wild Heerbrugg NA32 automatic level
- Tripods, staffs and cases in tools and accessories
Compare all models in auto levels and see auto level price in Pakistan. When the work needs angles and setting out too, read auto level vs total station.
Ask for today's price
Tell us your typical sight length and whether you need a tripod and staff with the level. Good 32x levels sit at about PKR 45,000 to 120,000 in the 2026 market. Confirm today's price on WhatsApp, rates move with the exchange rate. Send us a WhatsApp for today's price.
What we supply
Equipment covered in this guide
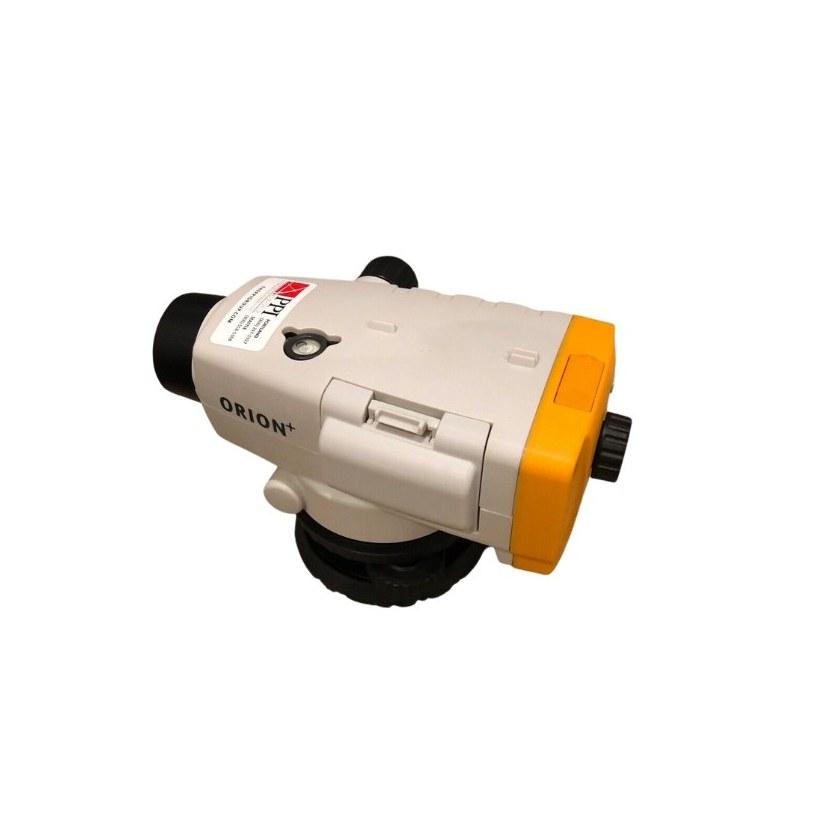 Orion+
 Automatic Level
A compensator level that settles fast and stays settled. The one we hand a site engineer who levels every day and has no time to fuss with it.
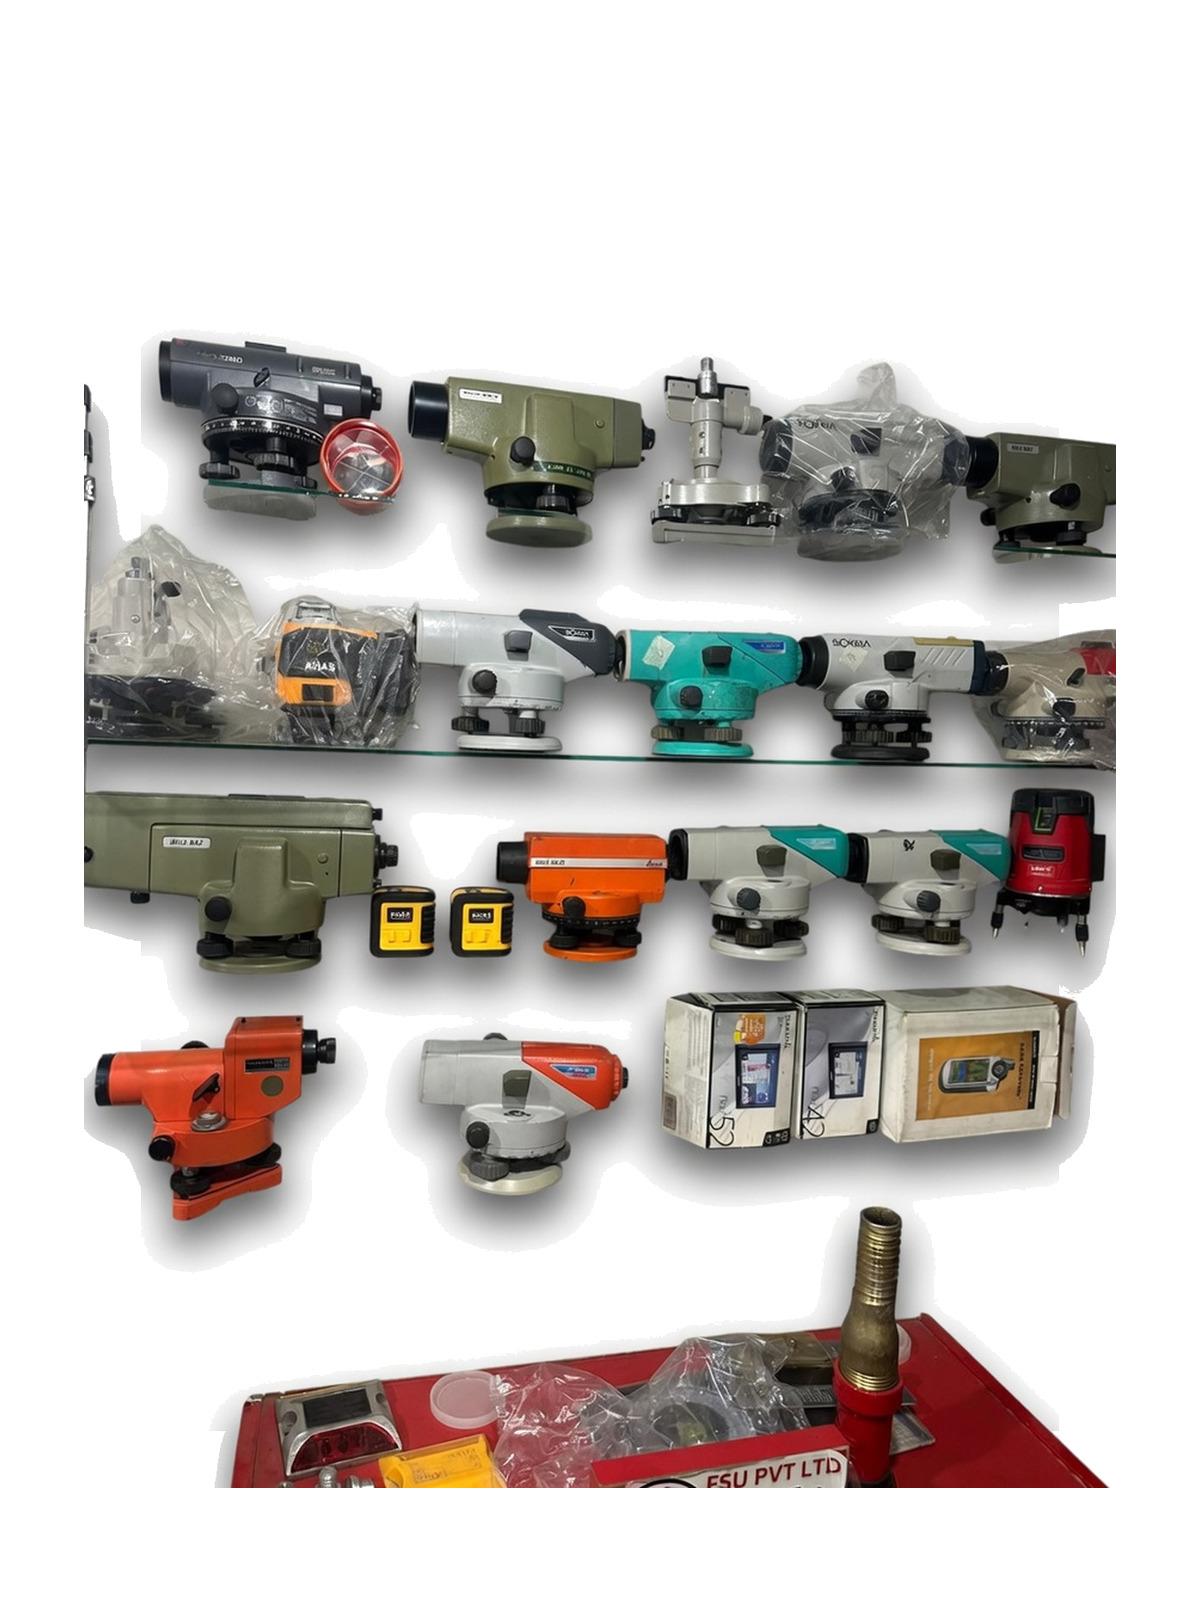 NA32
Wild Heerbrugg NA32 Automatic Level
The Swiss NA32, kept because it still works. A serviced classic instrument for collectors, teaching sets and surveyors who trust the glass.
NA32NA32 Automatic Level
The classic 32x automatic level. Simple, repairable and still the most common instrument on a Pakistani site.
FAQ
Questions buyers ask us
How does an auto level work?
An auto level has a compensator, a prism hanging on fine wires inside the telescope, that swings to keep the line of sight horizontal once the circular bubble is roughly centred. You only level the bubble with 3 footscrews; the compensator removes the last few minutes of tilt automatically and settles in about 2 seconds.
How do you check a level with an auto level?
Set up between a known benchmark and the point, take a backsight on the benchmark and a foresight on the point. The point's level is the benchmark level plus the backsight minus the foresight. With a benchmark at 100.000 m, backsight 1.525 and foresight 1.840, the point is at 99.685 m.
How do you transfer a level using an auto level?
Work in a chain of setups. Read a backsight on the known level, a foresight on a firm change point, move the instrument, then read a backsight on that same change point. Repeat until you reach the new point, and close back to a benchmark. Keep each sight under about 60 metres.
How often should an auto level be calibrated?
Run a two peg test when the level is new, after any knock or fall, and at least once a month in Pakistani summers, when heat pulls compensators out of adjustment faster. If the error over 60 metres exceeds about 3 mm, the reticle needs adjustment on a bench.
Which auto level is best for site work?
For building sites with sights under 50 metres, a 24x level such as the Sokkia B40A is enough. For roads, canals and housing societies, buy 32x, such as the Sokkia B20, NA32 or Orion Plus. In 2026 good 32x levels cost about PKR 45,000 to 120,000 in Pakistan.
How accurate is an auto level?
A good auto level used carefully gives readings to 1 mm on the staff and closes a 1 kilometre loop within a few millimetres. On site, most errors come from a tilted staff, unequal sight lengths and heat shimmer, not from the instrument. A staff bubble alone removes a typical 2 to 5 mm error.